Thermal Imaging for Roof Leak Detection: How We Find Hidden Leaks
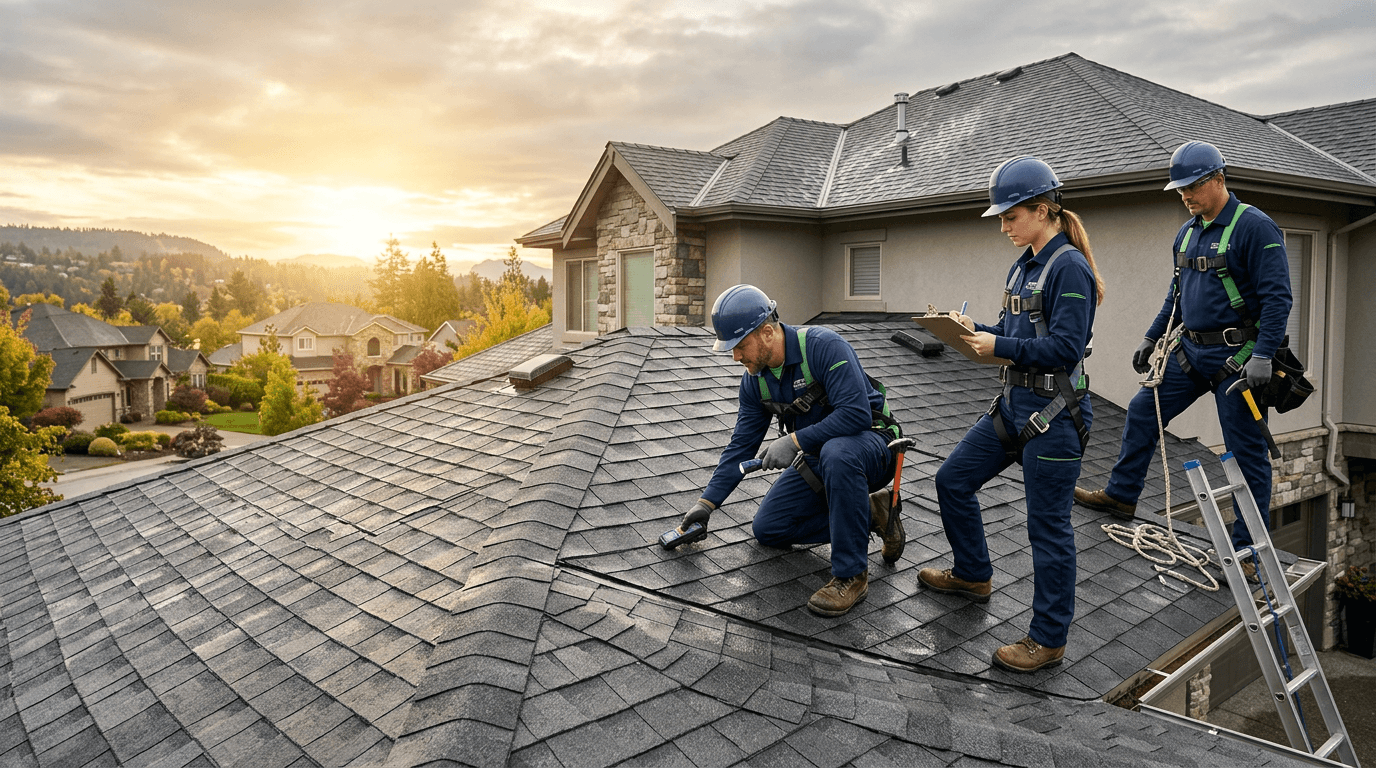
import { CallToAction } from '@/components/blog/CallToAction'; import { InfoBox } from '@/components/blog/InfoBox'; import { InternalLink } from '@/components/blog/InternalLink';
Thermal cameras detect temperature differences — wet insulation retains heat differently than dry insulation, showing up as distinct thermal signatures Hidden moisture is invisible to the eye — water trapped between roofing layers or inside wall cavities can't be seen but is clearly visible on infrared scans Non-destructive diagnostics — thermal imaging identifies leak zones without cutting, drilling, or damaging the roof structure DIY methods have hard limits — visual inspections and moisture meters only detect surface-level moisture; thermal imaging reveals the full extent Professional interpretation matters — thermal images require trained analysis; temperature anomalies have multiple causes beyond water intrusion
What Your Eyes Can't See, Infrared Can
A roof can hold gallons of trapped water inside its assembly while the surface above looks perfectly fine. No visible stain. No soft spot. No drip. Just a slow, invisible accumulation of moisture that's rotting decking, degrading insulation, and feeding mold — all hidden behind intact shingles, tiles, or membrane.
This is where thermal imaging changes everything.
Professional infrared thermography — using calibrated FLIR (Forward Looking Infrared) cameras — detects temperature variations as small as 0.05°F. When water saturates insulation, decking, or framing, it changes the thermal properties of those materials. Wet areas heat and cool at different rates than dry areas. A thermal camera reads these differences and renders them as a visual image — revealing the full extent of moisture intrusion that's completely invisible from a visual inspection.
At Shield Roof Pro, we use thermal imaging on complex leak investigations across Spring Hill, Hudson, New Port Richey, Holiday, Port Richey, Elfers, and Clearwater Beach. It's not a gimmick. It's the most effective non-destructive diagnostic tool available for roof leak detection.
This guide explains how it works, when it's needed, and why a smartphone thermal attachment isn't the same thing.
<InfoBox type="info"> <strong>When thermal imaging is most valuable:</strong> After active leaks with no visible source, before purchasing a home with a suspected roof issue, to map the full extent of water damage after storm events, and to verify dry conditions after repairs are complete. </InfoBox>
How Thermal Imaging Detects Roof Moisture
The Science Behind the Image
Every object emits infrared radiation — heat energy — proportional to its temperature. A thermal camera captures this radiation and converts it into a visible image where different colors represent different temperatures.
When water infiltrates a roof system, it changes the thermal mass of the materials it contacts:
Wet insulation absorbs and retains heat differently than dry insulation. During the day, both wet and dry insulation absorb solar heat. After sunset, dry insulation releases its heat quickly to the cooler night air. Wet insulation holds heat longer. On a thermal scan taken 1-3 hours after sunset, wet areas appear as warm (brighter or warmer-colored) zones against the cooler (darker) background of dry roofing.
Wet wood decking conducts heat differently. Moisture-saturated plywood or OSB has higher thermal conductivity than dry wood. This creates detectable thermal signatures at the deck level, especially during temperature transitions (sunset, sunrise, or rapid weather changes).
Water inside wall cavities changes surface temperatures. When roof leak moisture migrates into wall framing, the interior wall surface shows subtle temperature anomalies detectable from inside the building.
The Timing Is Critical
Thermal imaging for roof moisture detection doesn't work at any time of day. The physics requires a temperature differential between the roof surface and the ambient air.
Best conditions: Evening scans (1-3 hours after sunset) — the roof surface is cooling, but wet areas retain heat longer Clear skies — cloud cover reduces the radiative cooling that creates the temperature differential Dry surface conditions — the roof must be dry on the surface; recent rain creates false readings from surface water Calm wind — wind accelerates surface cooling and masks the subtle differences between wet and dry zones
Professional thermal imaging technicians schedule scans to align with these conditions. A scan performed at midday on a cloudy, windy day will produce unreliable results.
What Thermal Imaging Reveals That Visual Inspection Cannot
The Full Extent of Water Migration
A visual inspection might find a 6-inch water stain on the ceiling. A thermal scan reveals that the actual moisture in the attic extends across 15 feet of decking, three rafters, and into a wall cavity.
This matters because:
Repair scope changes dramatically — replacing one shingle above a stain misses 14 feet of wet decking that needs drying or replacement Mold risk assessment is accurate — knowing the true moisture extent informs whether mold remediation is needed Insurance documentation is complete — adjusters need to know the full damage extent, not just the visible portion
Moisture Trapped Between Membrane Layers
On flat roofs — TPO, EPDM, modified bitumen — water can be trapped between the membrane and the insulation board below. The surface looks fine. There's no visible blister or bubble. But beneath the membrane, water is saturating the insulation, destroying its R-value, and rotting the deck.
Thermal imaging reveals these trapped moisture zones as distinct warm patterns on evening scans. The shape and size of the warm zone maps the exact extent of the trapped water.
Hidden Leak Paths Inside Walls
When roof leak water enters a wall cavity — through the top plate, around a chimney chase, or behind siding — it's completely invisible from both the interior and exterior. The drywall looks fine. The siding looks fine. But inside the wall, water is saturating studs, insulation, and electrical wiring.
Thermal imaging from the interior wall surface detects the temperature anomaly caused by wet framing. This is the only non-destructive way to identify wall-cavity moisture from a roof leak.
Post-Repair Verification
After a leak repair, thermal imaging confirms that the affected area is dry — or identifies residual moisture that needs attention before closing up walls or replacing insulation. This prevents the common scenario where a repaired roof sits above still-wet materials that develop mold weeks later.
Professional FLIR vs. DIY Thermal Attachments
You may have seen smartphone thermal camera attachments — FLIR One, Seek Thermal, and similar products — available for $200-$400. They're interesting tools, but they are not suitable for professional roof leak detection.
Resolution and Sensitivity
Professional-grade FLIR cameras used in building inspections have thermal resolutions of 320x240 pixels or higher, with thermal sensitivity of 0.05°F or better. Smartphone attachments typically have resolutions of 80x60 to 160x120, with sensitivity around 0.1-0.3°F. The difference is the gap between seeing a detailed thermal map and seeing a blurry warm spot.
Radiometric Calibration
Professional cameras are radiometrically calibrated — every pixel in the image contains an accurate temperature reading, not just a relative color. This allows the technician to quantify the temperature difference between wet and dry zones, confirming that an anomaly is moisture and not simply a sun-heated patch of shingle.
Interpretation Training
A thermal image is not self-interpreting. Temperature anomalies have multiple causes:
Sun-heated shingles create warm spots unrelated to moisture HVAC ducts inside the building create cool spots Electrical wiring generates heat that mimics moisture patterns Insulation gaps (missing or compressed insulation) create thermal signatures similar to wet areas Air infiltration at windows, doors, or penetrations creates temperature differentials
A trained thermographer knows the difference. An untrained homeowner looking at a smartphone thermal image will likely misidentify normal thermal patterns as leak evidence — or miss real moisture because it doesn't look like what they expected.
Report-Grade Documentation
Professional thermal imaging produces calibrated, annotated reports with:
Visible-light and thermal image pairs for each finding Temperature readings at key points Annotated zones indicating probable moisture extent Written analysis correlating thermal findings with visual inspection results Recommendations for further action
This documentation is essential for insurance claims, repair planning, and real estate transactions. A smartphone screenshot is not.
When Thermal Imaging Is the Right Diagnostic
Not every roof leak needs thermal imaging. Here's when it adds value:
Use thermal imaging when: The leak source is not visible after a thorough visual inspection Water damage appears widespread but entry points are unclear You're evaluating a flat roof system for trapped moisture Pre-purchase inspection of a property with suspected roof issues Post-storm assessment to map damage extent for insurance Verifying dryness after a major leak repair Suspecting moisture migration into wall cavities
Visual inspection is sufficient when: The leak entry point is obvious (cracked vent boot, missing shingle, failed flashing) The leak is new, localized, and the water path is traceable from the attic The repair is straightforward and doesn't require damage mapping
Shield Roof Pro determines the appropriate diagnostic approach during the initial assessment. If thermal imaging will save time and improve accuracy, we recommend it. If a visual inspection is sufficient, we don't upsell unnecessary technology.
The Thermal Imaging Process
When Shield Roof Pro performs a thermal imaging inspection, here's what to expect:
Visual inspection first — We always perform a thorough visual inspection of the roof, attic, and interior before deploying the thermal camera. Thermal imaging supplements — it doesn't replace — traditional diagnostic methods.
Schedule the scan — We schedule the thermal scan for optimal conditions, typically early evening after sunset. If conditions aren't right, we reschedule. Scanning in poor conditions produces unreliable data.
Exterior scan — We scan the entire roof surface from the exterior, capturing thermal images that reveal moisture zones in the decking, insulation, and membrane.
Interior scan — We scan interior ceilings and walls in areas of suspected leakage, identifying moisture migration paths inside the building envelope.
Attic scan — If accessible, we scan the attic space, correlating thermal findings with visual observations of watermarks, mold, and insulation condition.
Analysis and report — We produce a written report pairing visible and thermal images, annotated with temperature readings and professional analysis. You receive a complete diagnostic document — not just pictures.
<InfoBox type="info"> <strong>Related reading:</strong> Thermal imaging is one tool in a comprehensive diagnostic approach. For the manual tracing methodology we use when visual inspection is sufficient, see <InternalLink href="/blog/find-roof-leak-source" text="our step-by-step guide to finding roof leak sources" />. </InfoBox>
Professional thermal imaging for roof leak detection typically ranges from $300-$800 depending on roof size, complexity, and report requirements.
Consider the alternative: repairing the wrong area because the leak source wasn't accurately identified. A single misdirected repair — replacing shingles above a stain when the actual entry point is at the chimney flashing 15 feet away — costs more than the thermal scan and wastes weeks of unresolved leaking.
Thermal imaging pays for itself when it prevents even one unnecessary repair.
<CallToAction title="See What's Hidden Inside Your Roof" description="Professional FLIR thermal imaging reveals the true extent of roof moisture — no cutting, no guessing. Available across Spring Hill, Hudson, New Port Richey, Holiday, Port Richey, Elfers, and Clearwater Beach." phone="(727) 555-ROOF" ctaText="Request a Thermal Inspection" />
Frequently Asked Questions
Can thermal imaging find a roof leak during rain?
No. Thermal imaging for roof moisture detection requires a dry roof surface and specific temperature conditions. Rain creates surface water that produces false thermal readings. Scans are scheduled during dry periods, typically 24-48 hours after rainfall, during evening cooling hours.
How accurate is thermal imaging for detecting roof moisture?
Professional thermal imaging with a calibrated FLIR camera is highly accurate — studies show 85-95% detection rates for significant moisture accumulations in roofing systems. However, it's not infallible. Small, isolated moisture pockets may not register, and certain conditions (recent rain, high winds, extreme cloud cover) reduce accuracy. That's why we always combine thermal findings with visual inspection.
Will thermal imaging show me the exact leak entry point?
Thermal imaging shows the extent of moisture within the roof assembly — where water has traveled and accumulated. The actual entry point on the roof surface is identified by correlating thermal moisture zones with visual inspection of the roof exterior. The thermal scan narrows the search area dramatically; the visual inspection pinpoints the specific breach.
Is thermal imaging safe for my roof?
Yes. Thermal imaging is completely non-contact and non-destructive. The camera captures emitted infrared radiation from a distance — it doesn't touch, probe, or interact with the roof surface in any way. There is zero risk of damage from the scanning process itself.
Can I rent a thermal camera and do this myself?
You can rent or purchase thermal cameras, but without training in building thermography, the images are difficult to interpret correctly. Temperature anomalies have many causes besides moisture. Professional thermographers undergo specific training (often through organizations like the Infraspection Institute) to distinguish moisture signatures from normal thermal variations. The investment in a professional scan is typically less than the cost of a misdiagnosis from an untrained interpretation.
Need professional roofing help?
Residential Roofing Contractors Pros serves the Tampa Bay area with 18+ years of experience. Request a free estimate through our contact form.
Request Free Estimate